What is the Best Way to Photograph Your Artwork
Taking quality images of your art + design products is perhaps one of the most important aspects of selling on Embrace Creatives. In order to give our buyers the best possible view of your art it’s critical your images are photographed to achieve the best image quality.
Want to hire a professional? Our affiliate, ARC Design Studios in Michigan is offering Embrace Creatives Artists discounted Merchandising & Marketing Sessions to capture the BEST images. Location restrictions apply.
To keep a uniform and easy-to-understand Showroom experience for our buyers, the background of your main 3D product image MUST be white or a professionally shot gradient background.
Not white fabric background. Not a white rug. Just plain white color.
If you use a different background color or a stylized image, we will ask you to place the product in “draft” mode until you replace the image.
OUR TIPS;
SHOOT ALL PRODUCT AND ARTWORK AGAINST A WHITE/LIGHT BACKGROUND.
We’re shouting this to the rooftops because it’s important to keep a consistent look to your Store and a white background allows your creations to POP in our white Showroom.
- A white or professional gradient is the “official” background for EC.
- No watermarks.
- We also suggest one or more ‘stylized” photograph showing your work in its natural habitat;
- above a couch (painting or wall work)
- outside in an open space (sculpture)
- on a table (ceramic vase)
- Best image size to reduce theft on ALL digital platforms:
- 1800 pixels on one side
- 600kb – 2MB file size, max.
- Image reduction choices:
- BIRME (optimize several photos at once)
- IMAGE RESIZER
- BEFUNKY
You can take creative liberties in the stylized images but remember to make your art the focus and don’t add too much background “noise” or clutter.
- Artificial light may tint the background color so use natural light whenever possible (e.g. – a large window works well, or photograph the artwork outside on a cloudy day).
- If you’re unable to utilize natural light, watch out for glare. Diffuse artificial light or your flash to reduce glare. In fact, using a flash can increase “hot spots” (white areas) so do your best not to use a flash.
- We suggest hiring a professional to photograph artwork behind glass or any artwork with a reflective quality.
- Tripods are your best photography friend. If you don’t have one, try steadying yourself against the back of a chair or other sturdy object. If your work is small, instead of shooting it on the wall, you can place it on the floor or a table and stand directly above it. (watch out for shadows)
- Pay attention to the artwork edges and keep your positioning “true” so each edge is perpendicular to the frame of your camera. You don’t want your photograph to be skewed backwards or forwards.
- Set image compression on your camera to the highest quality/resolution.
- If you need a close-up of texture or any area of your products you can either; set your camera to “macro,” or after you photograph the entire piece, crop out the section you want to highlight using an image editor like Photoshop, keeping the higher quality/resolution and save with a different image title.
- Embrace Creatives has a recommended size requirement to ensure quality and image clarity which is 2MB, max. However, a file size that large can be used to reproduce artwork if a hacker gets it, so it’s best to not go higher than 1MB but not lower that 600kb.
- Images must be in JPG, JPEG or PNG format. Embrace Creatives will not accept GIF, PDF, HTML or AI files.
IMAGE YES’s & NO’s


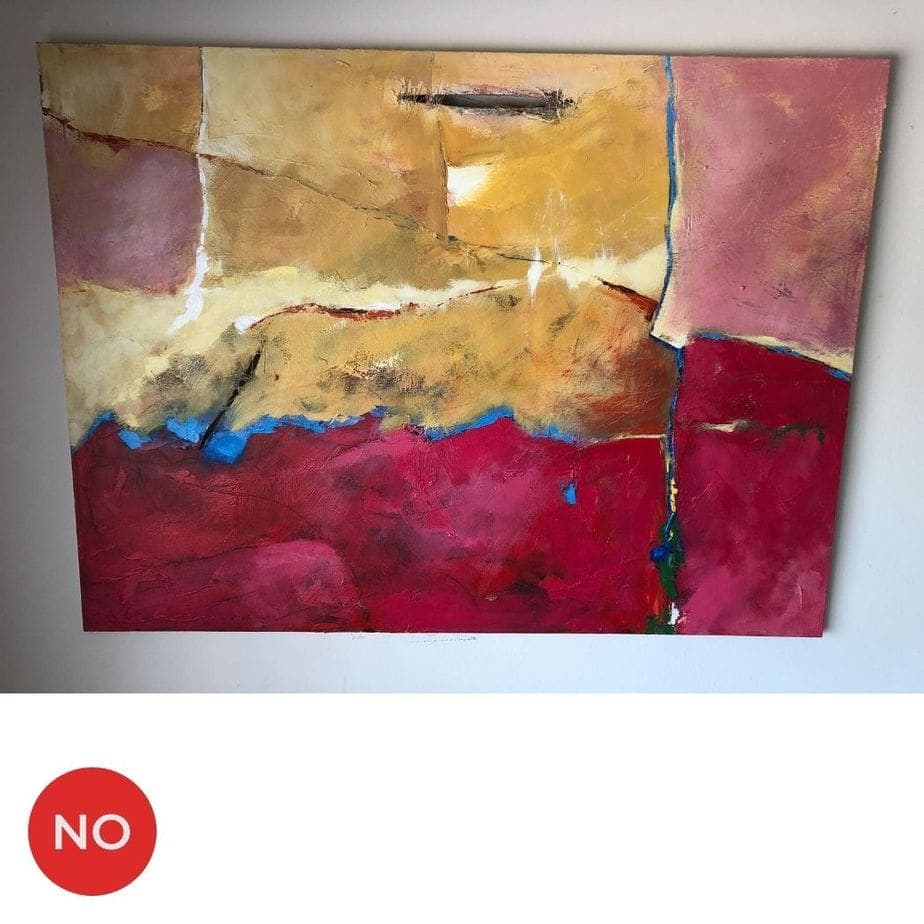
This artwork is not edge-to-edge. And for a stylized shot, this one is unprofessional.

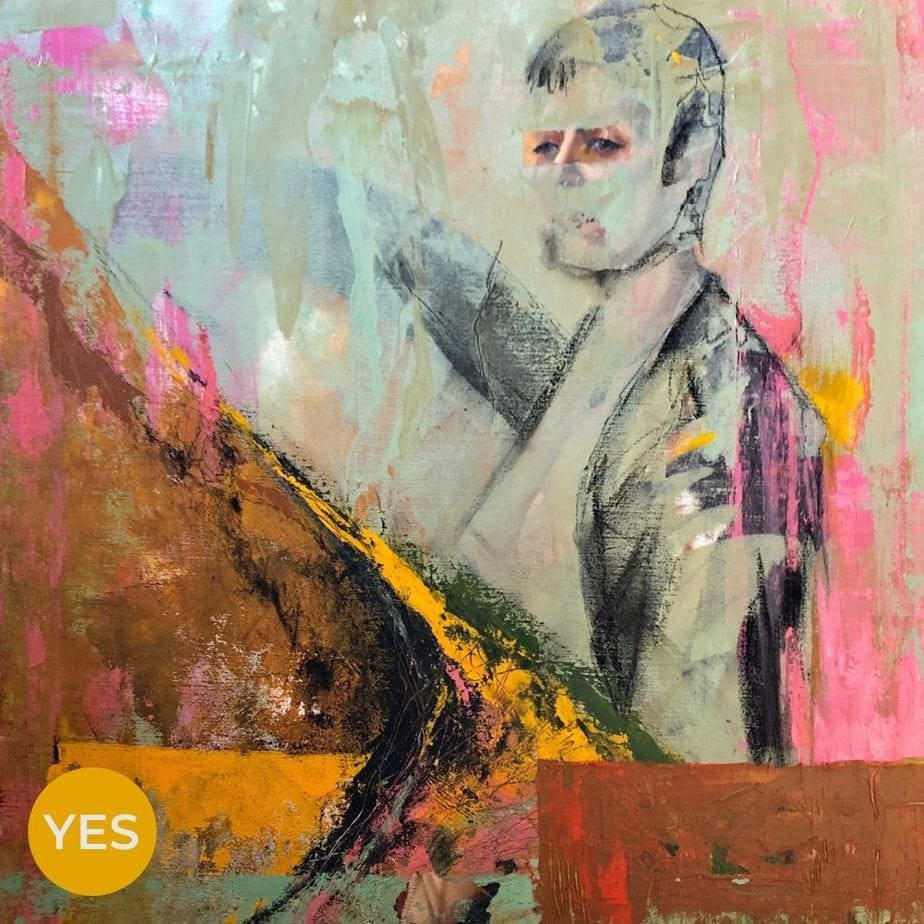
This is a wonderful stylized image. Remove the flowers for a perfect main image.

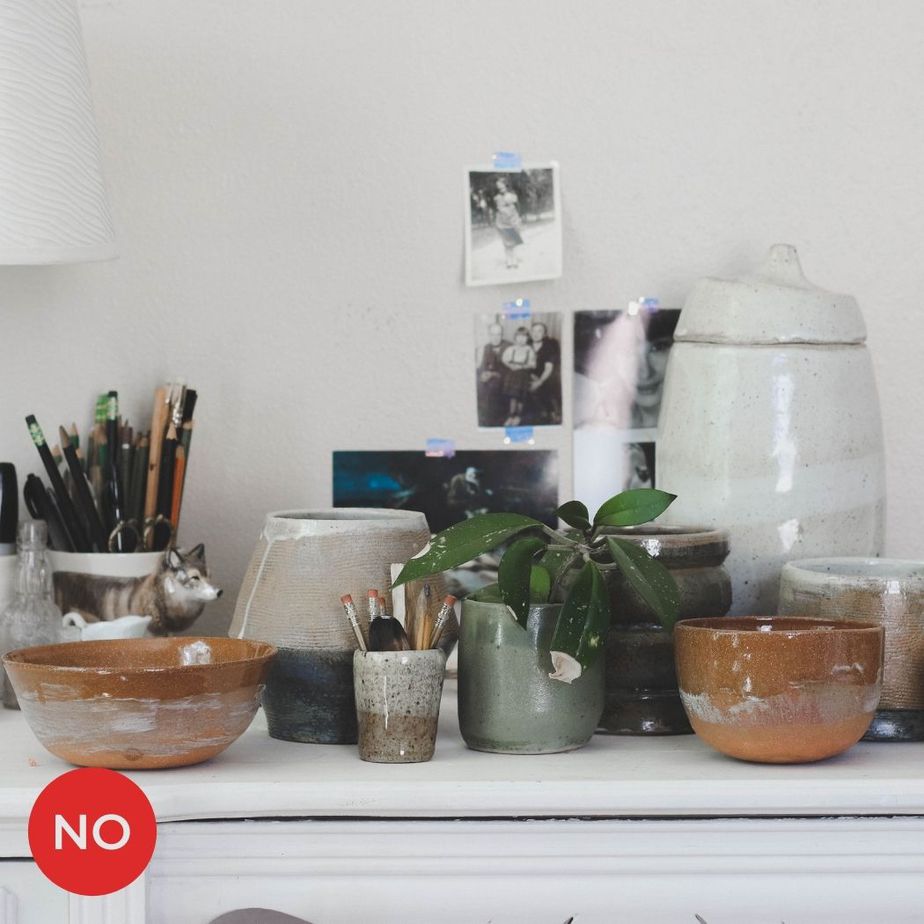
This image is MUCH too cluttered. We’re not sure which items are the listed artwork, if any.

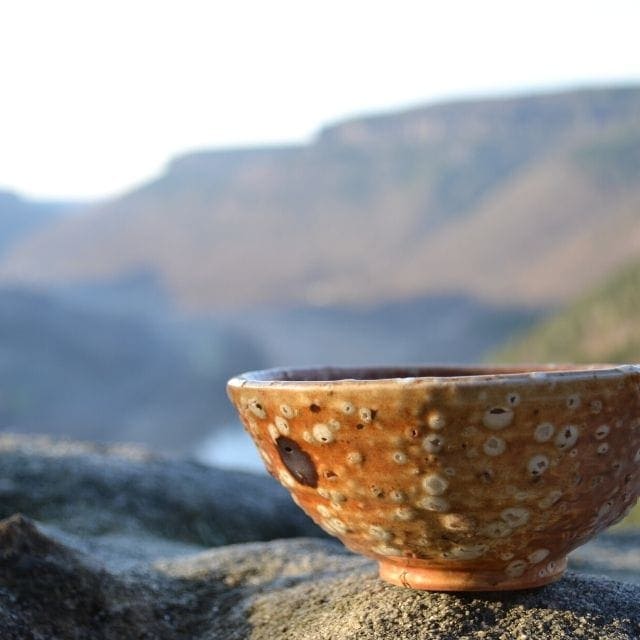
High quality images that your customers can easily zoom in on showcases the brilliance of your artwork – YES, YES, YES!!!

The resolution of this image is too low. It’s blurry and hard to see.

YES to photographing your 2D work straight on and level.

BIG NO to angling your camera so that your artwork is distorted. Also this image is not filling the shot, edge-to-edge.
